After struggling for hours to get my C100 MKii to balance on my DJI Ronin M I knew I had to remove the EVF to get it anywhere near close.
There are loads of threads online about the possibility of doing this but the conclusion on each one was that it isn’t possible. The only case I found where someone managed to do it was someone who actually snapped off the EVF, it worked but wasn’t a viable solution for myself.
I decided to give myself a few hours to slowly tear down my C100 Mkii and work out how everything is connected. Once I got started it actually didn’t take that long to work out how the EVF was connected, it is incredibly straightforward with the EVF just screwing directly into the chassis.
Heres a video I made for the people that just want to get things done quickly without my rambling, for the everyone else I have a detailed breakdown below the video
Removing the Canon C100 MKii EVF
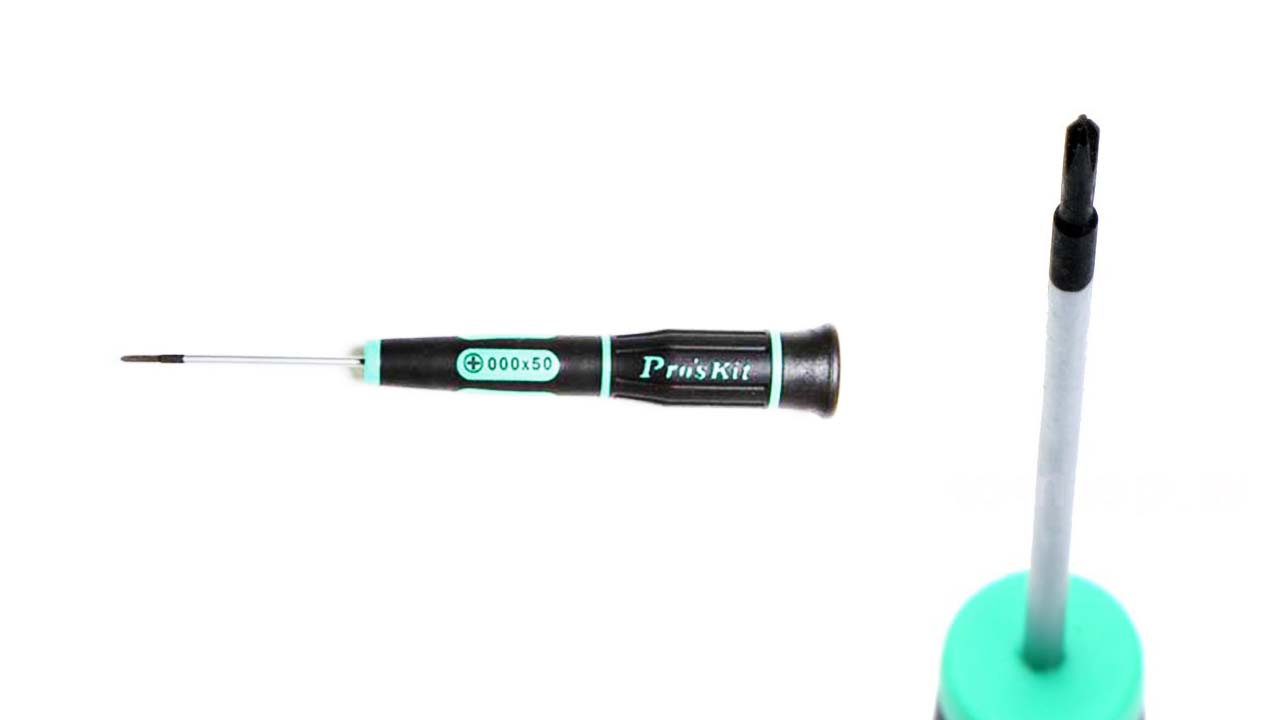
The only tool you will need is a 000x50mm precision screw driver
I didn’t initially use this Screw driver on my first tear down and it caused me a nightmare when 3 screws rounded off! I then had to carefully drill them out and re thread them taking hours!. I realise you want to do it now! but if you don’t have one I would advise you just get one ordered on next day delivery.
Step 1) Begin by removing all the screws in these locations
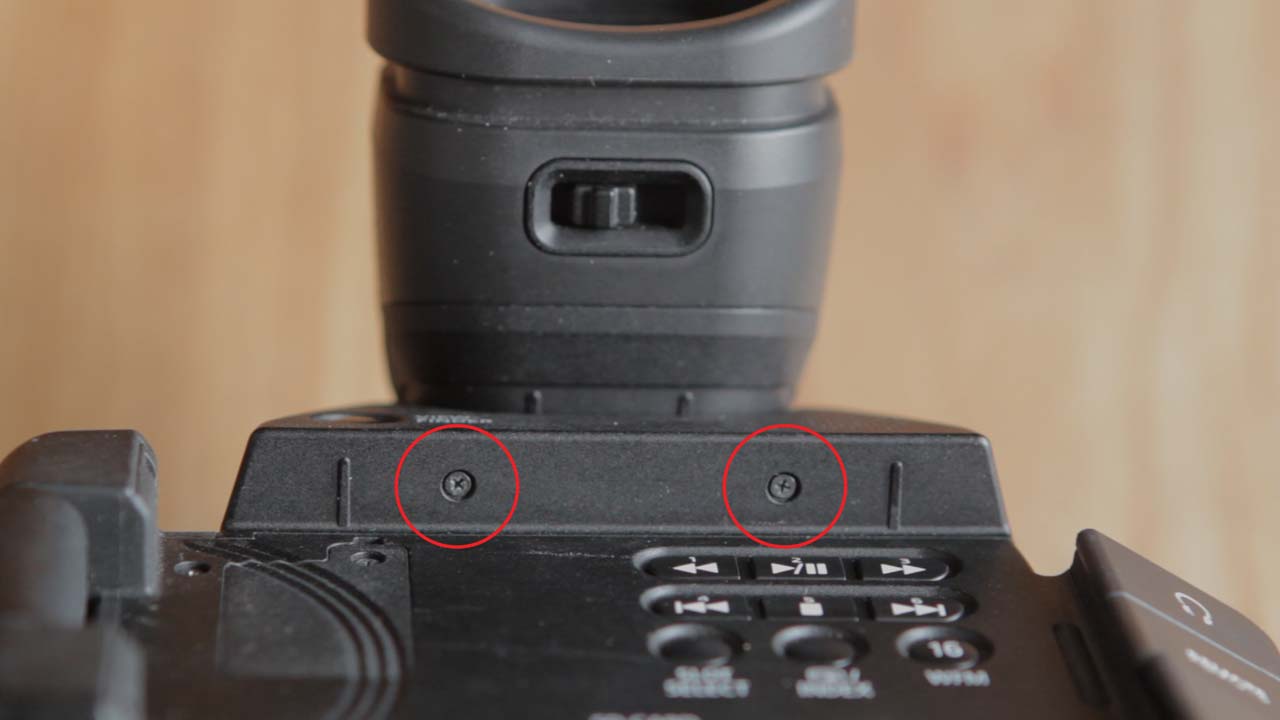
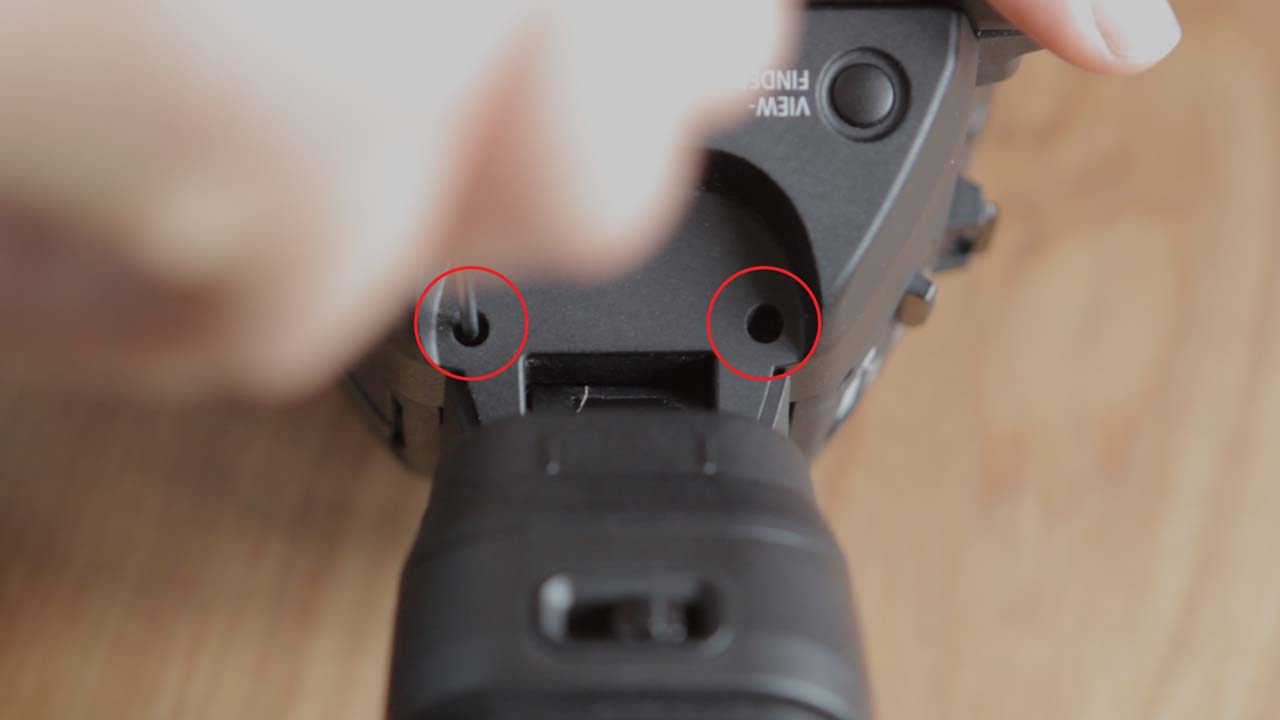
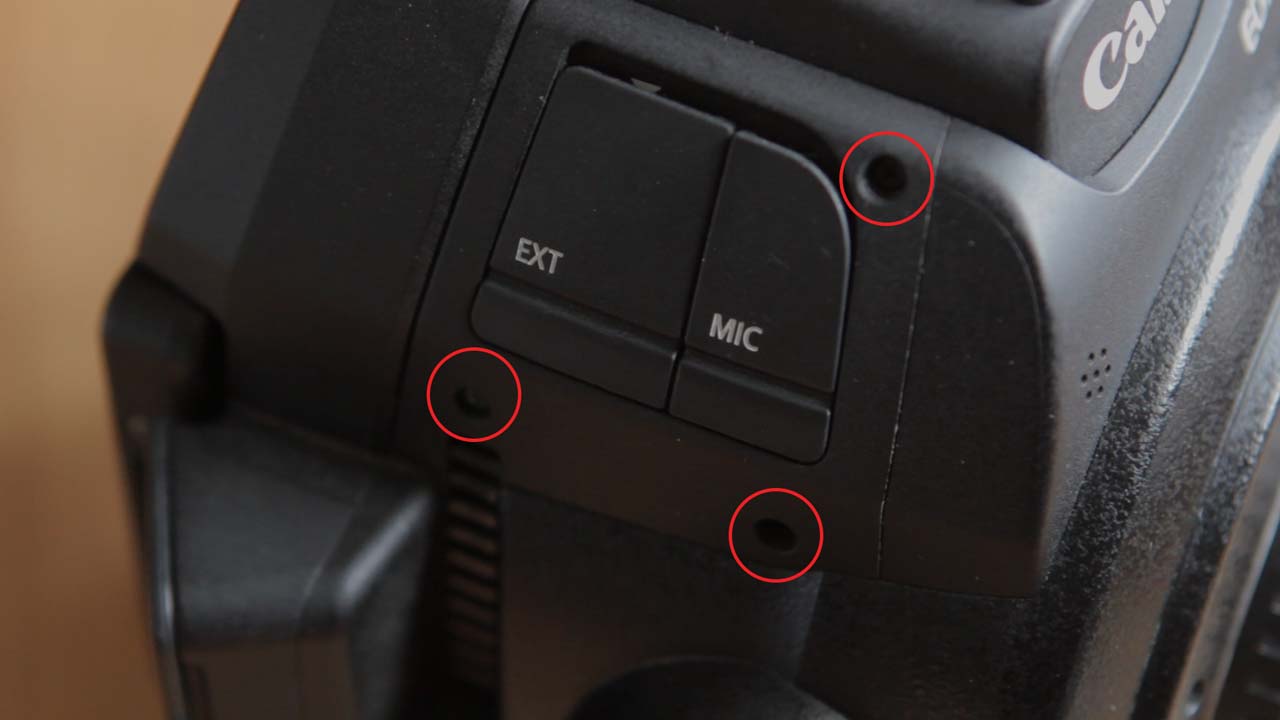
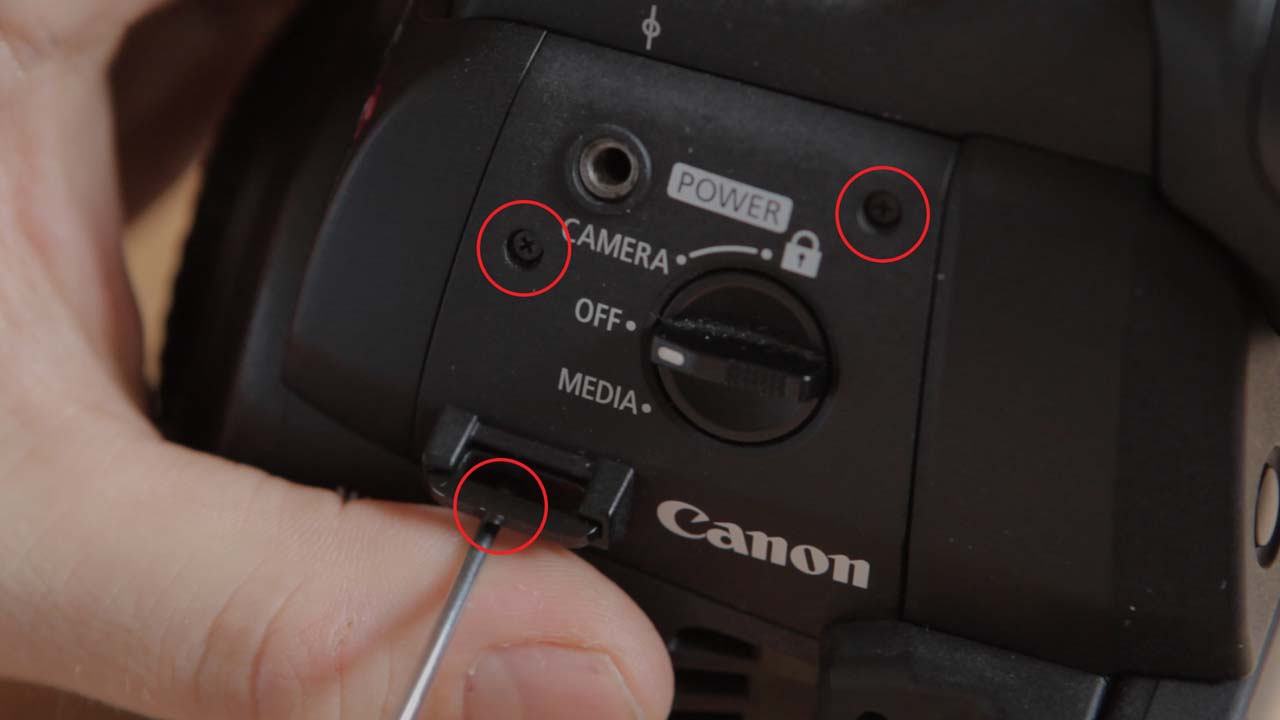
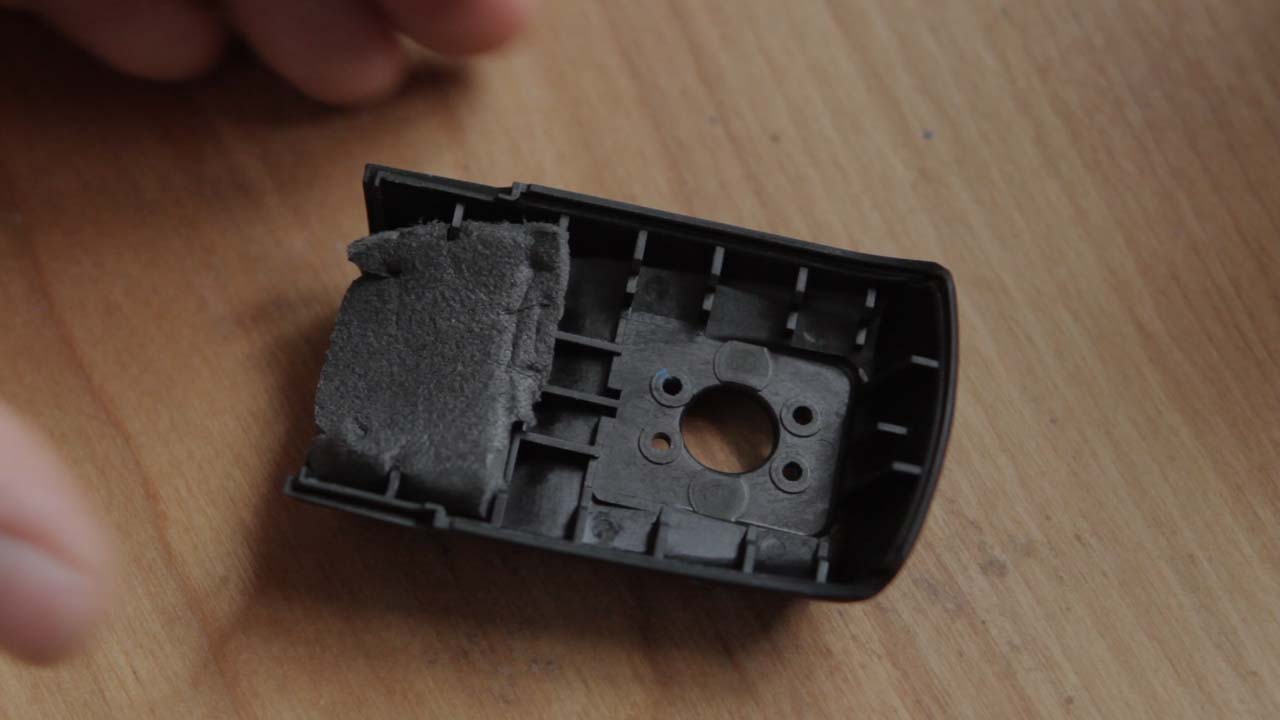
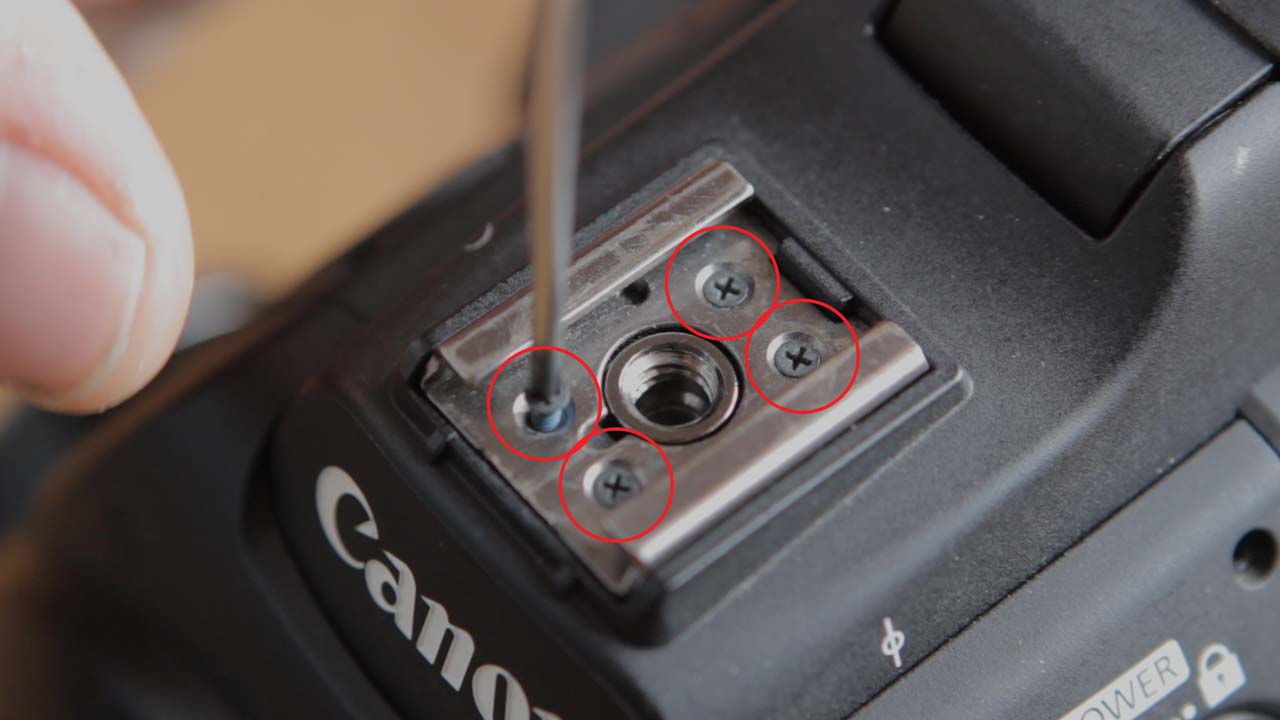 Step 2) Once these are removed you can easily take off the top cover, also move the EVF up and down to free the top piece.
(Also, something I discovered is that the top hot-shoe screw is mounted directly into the chassis so can take a lot more load than I ever assumed)
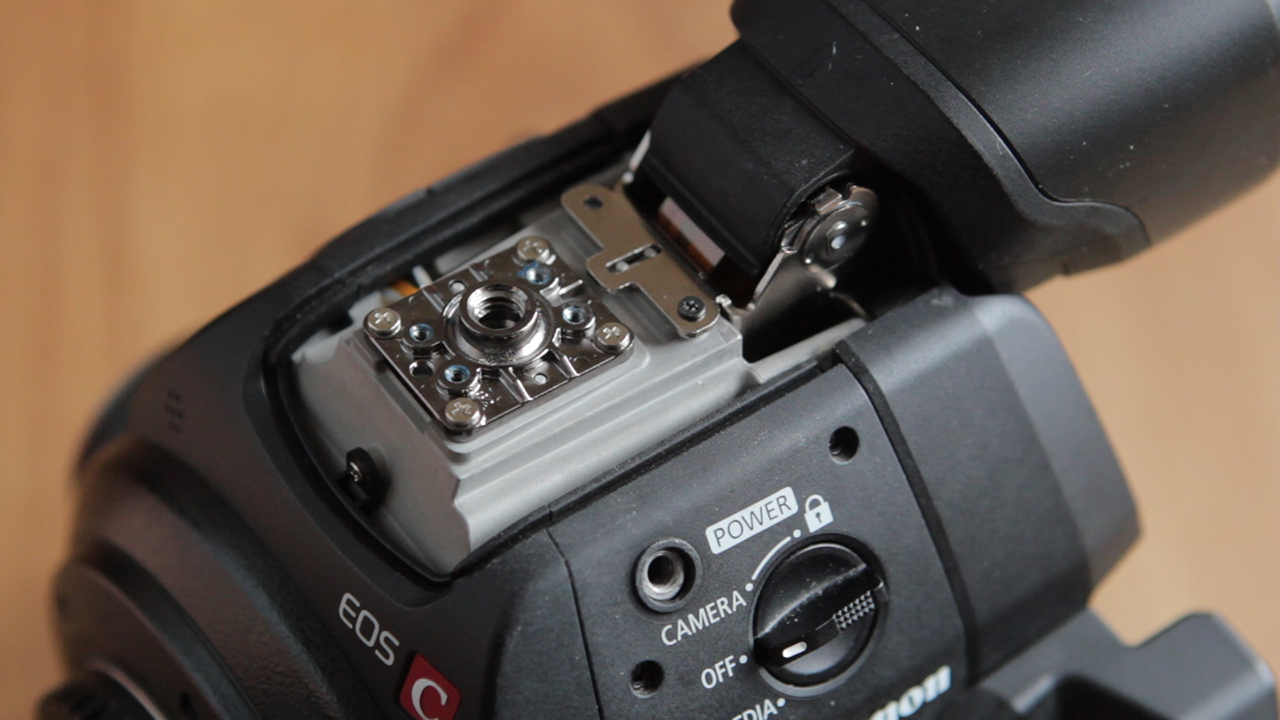 Step 3) Pop of the side panels to release the rear EVF Button Panel
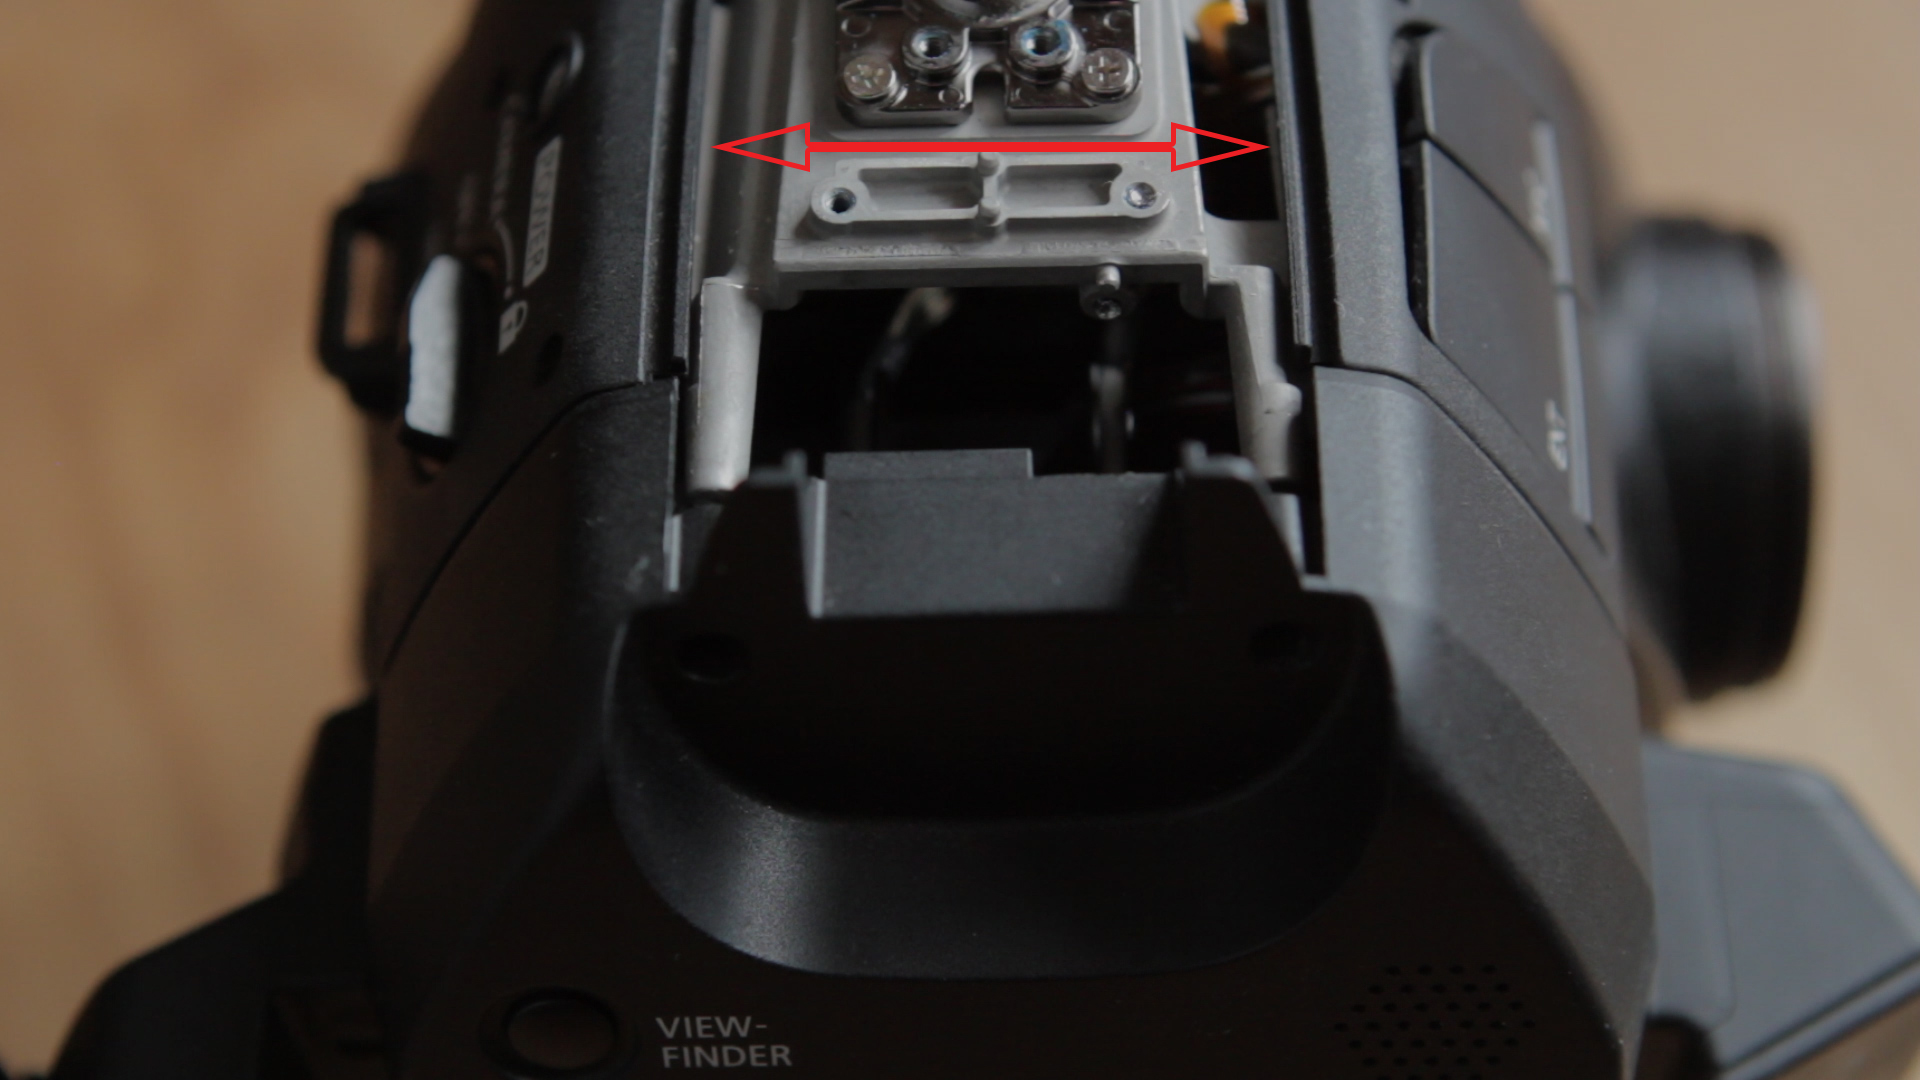 Slowly push off the rear EVF Button Panel I used the screwdriver against the back of it to get it loose and my hands to gently wiggle it free.
BOTH THE EVF AND EVF BUTTON PANEL ARE ATTACHED BY FRAGILE RIBBON CABLES BE CAREFUL REMOVING THIS PIECE
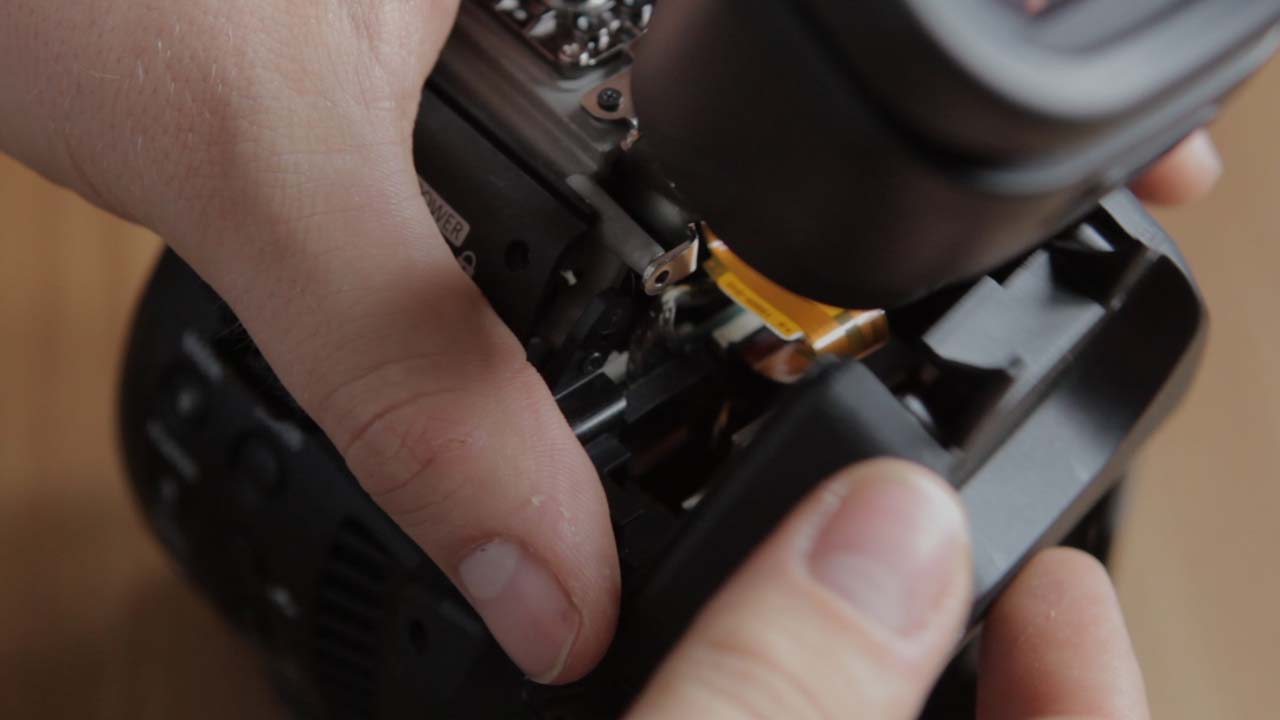 Step 4) Unclip the small EVF panel ribbon cable
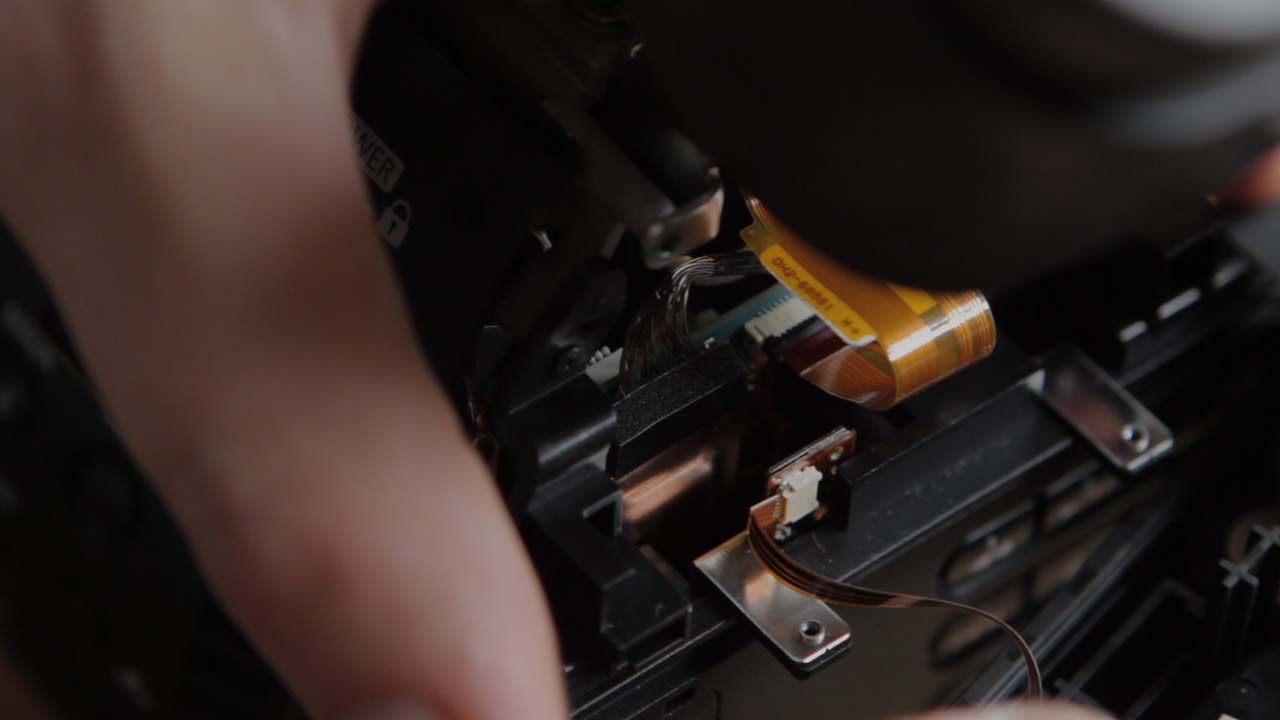 Unclip the larger EVF ribbon cable
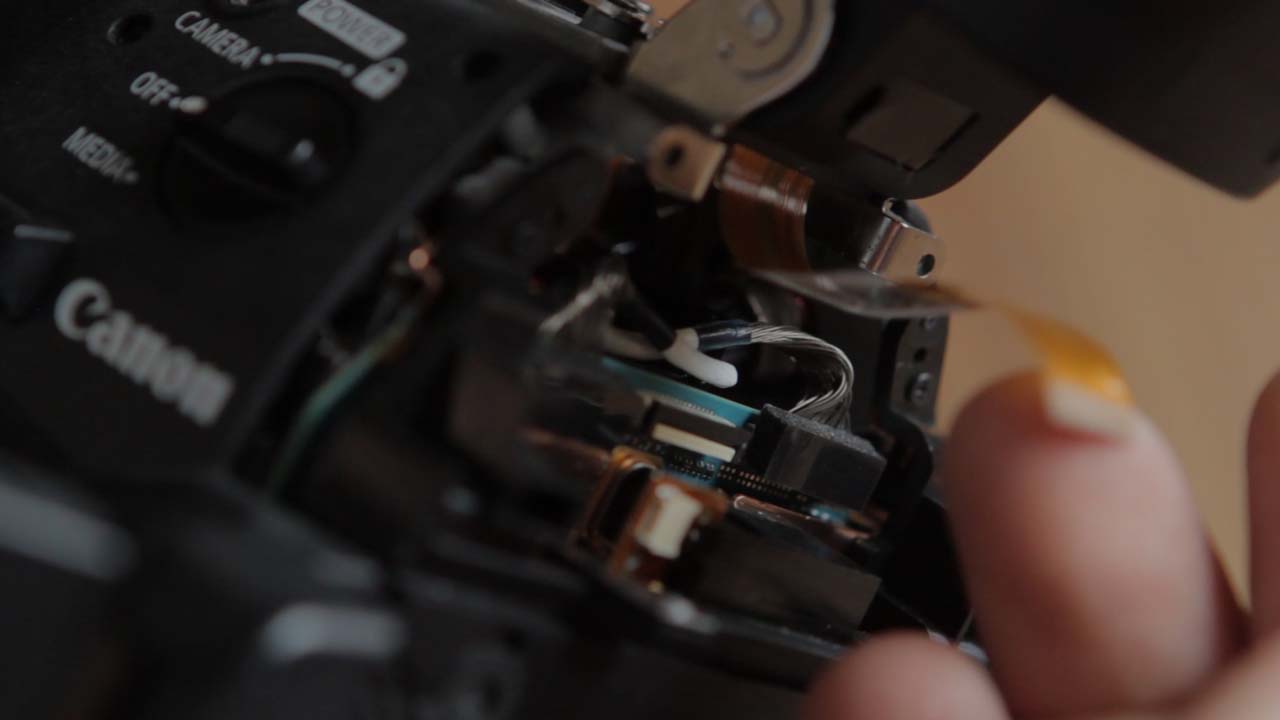 Step 5) Damaged screw from my initial tear down, yours will have a screw here that also need to be removed
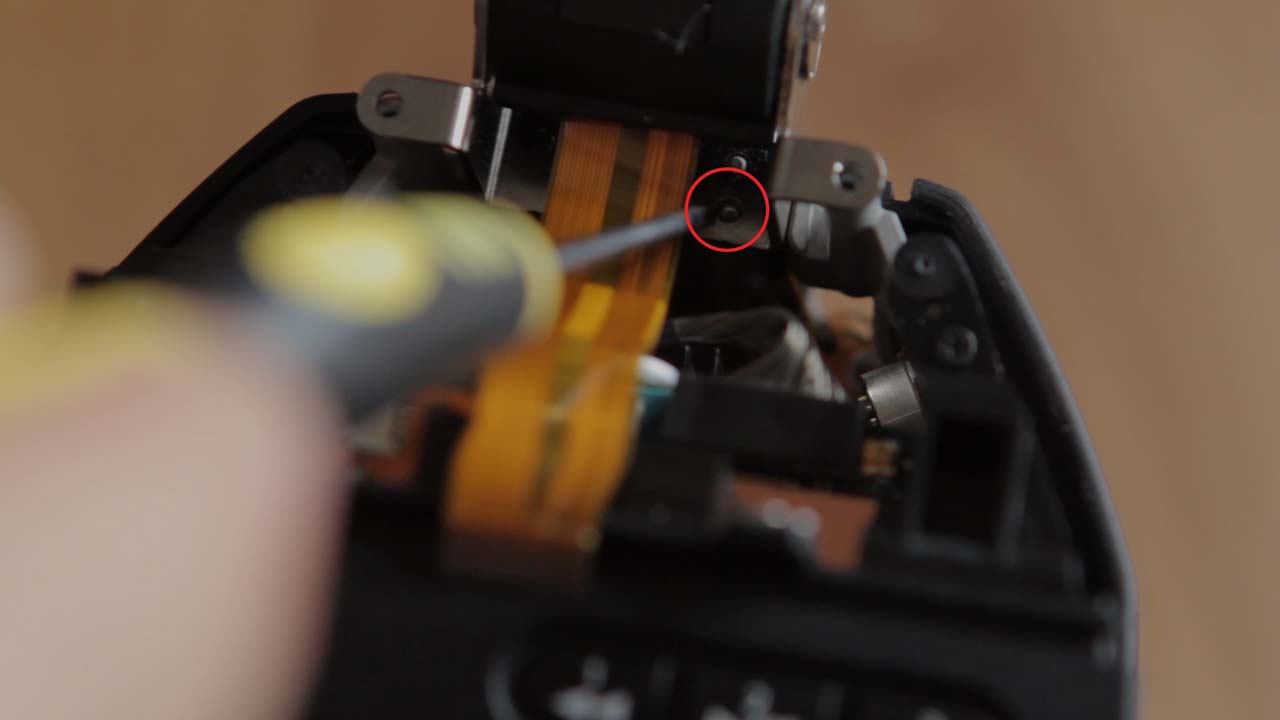 The 2 top screws have to be removed one side is missing a screw from my initial tear down, yours will have a screw here that also need to be removed
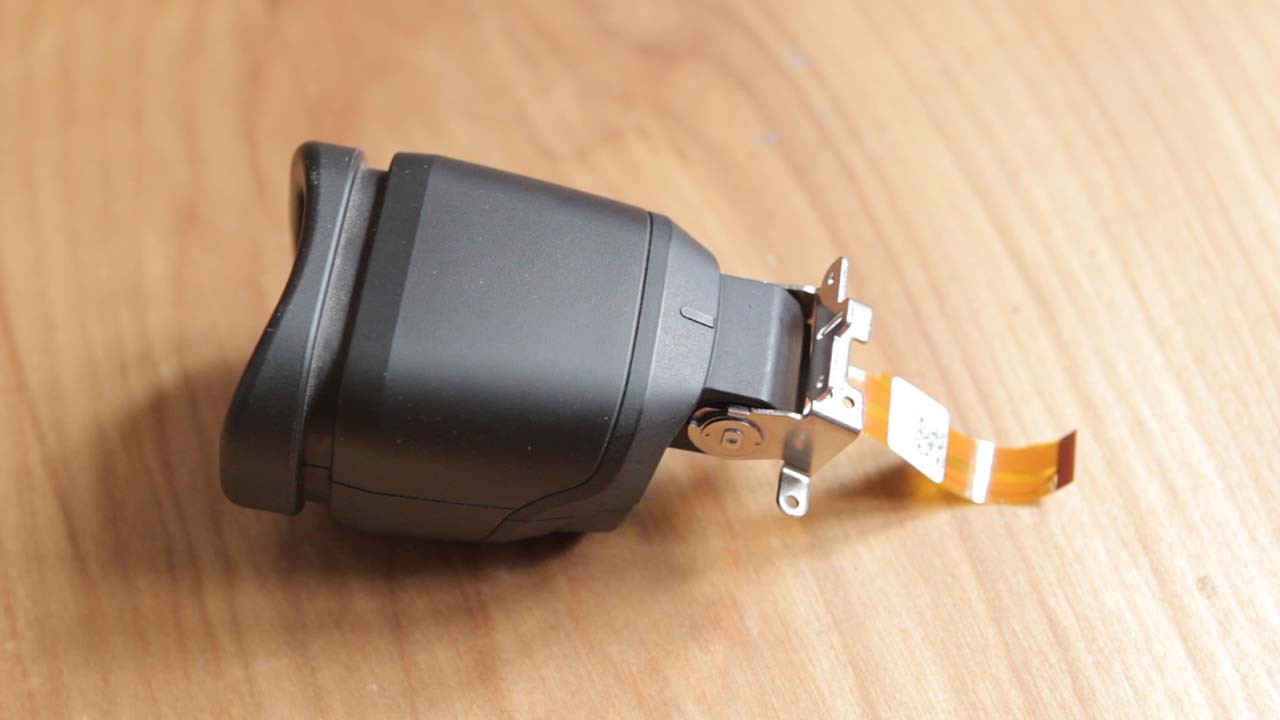
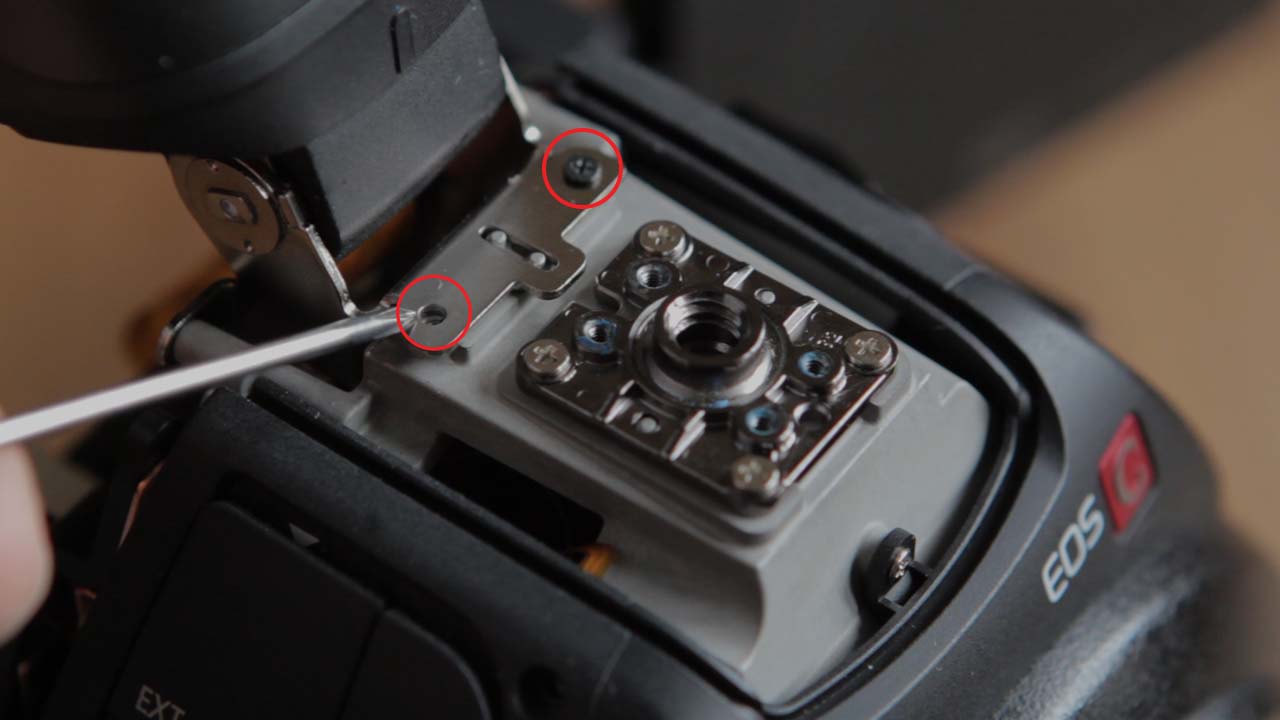 Step 6) You should now be able to lift the EVF off
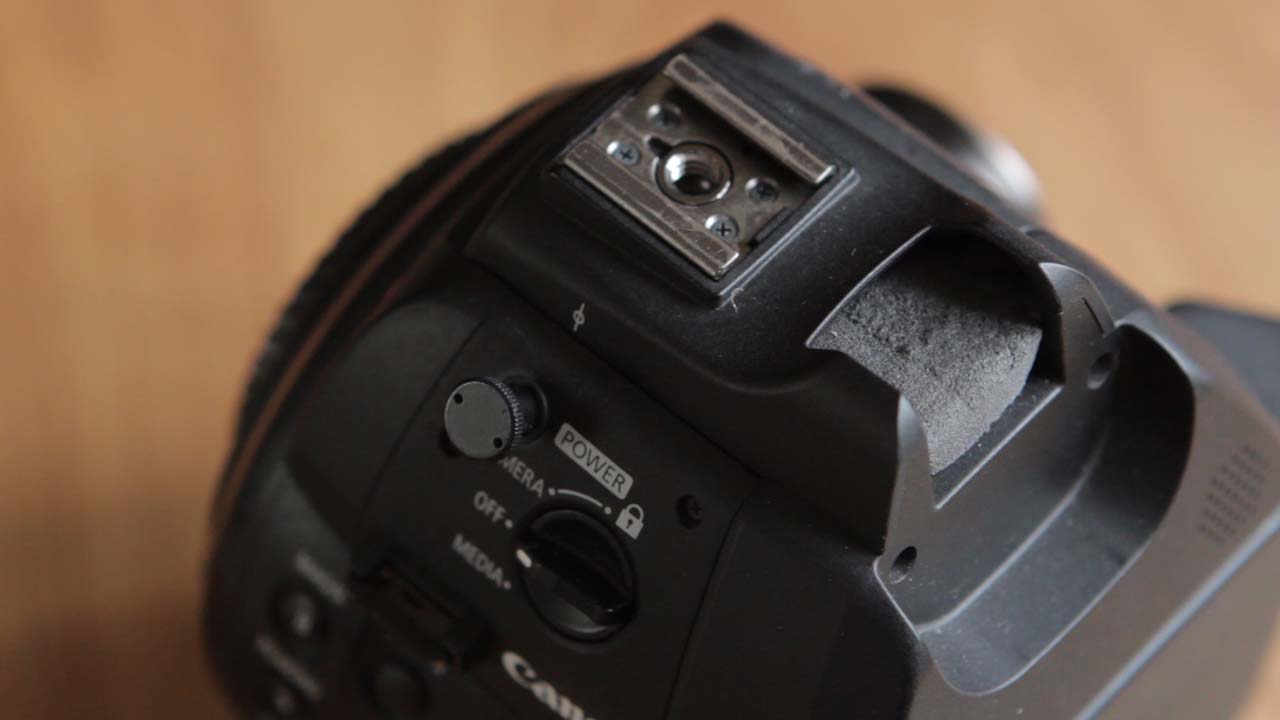
STep 7) You can now put the top piece back on – I have temporarily used a piece of hard antistatic foam to block off the open hole (I am currently trying to find a permanent solution for this)
Step 8) Now you can begin to reverse the process and put the camera back together (refer to step 1)
I hope this helps with any C100 MKii Gimbal setups!
Also comment on the youtube video and let me know of any ways we can block off the opening properly!
I will be posting more videos of this setup so keep an eye on my social media channels using the links in the menu bar.

